Using File history
In my previous post I explained how to activate file history. You can find this post here.
Now that we have File history activated, what can we do with it? Well, we can, for instance, see what an older version of our document looked like. But, before we do that, let us first take a look at adding a folder to a library.
Adding folders to the library
If you want to, you can add your own folders to a library. You can choose between creating a new library, or add the folder to an existing library. Here is how to do it.
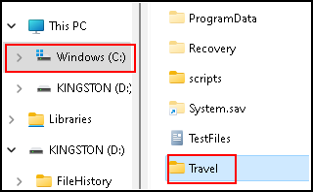
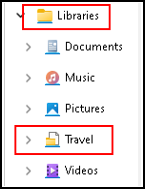
Start file manager, and navigate to the folder you want to add to the Library. In my case, I select the Travel folder.
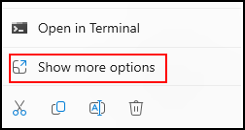
Right click the folder, and select “Show more options”.
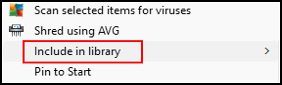
Select “Include in library”.
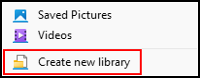
Select “Create new library”. And that is all. A new Library is created with the name of the folder you selected.
When you look at the Libraries in the left pane, you can see your folder is added.
If you do not see any Libraries like below, right click any empty white space in the left pane and select “Show Libraries”.
This is how easy it is to add folders to a Library.
If you want to delete a folder from the Library, simply right click the folder in the Libraries and select the Recycle Bin. Make sure you are in the Libraries folder, and have a backup.
How does File history work?
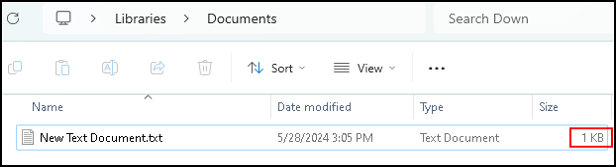
The simple way to explain this is to show you. I have created a text document in the documents folder. This folder is included in the file history backup. The file was empty when I created it, and I left it empty for a while. Then I added some text and saved the document.
Here is my document with some text in it, the size is 1 kb.
What did the file look like earlier that day?
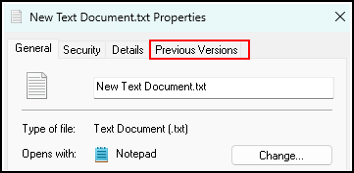
Right click the file, and select Properties. On the right side of the menu you can select the “Previous Versions” tab.
When you click the “Previous Versions” tab, all copies made will be shown. In my case there is only one copy.
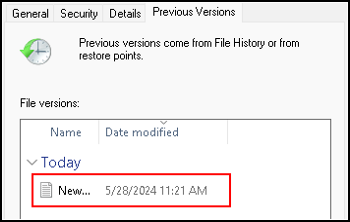
If there are more copies they are listed here. Once you select the copy of your choice you get an option to open it, or restore it.

This is pretty self explaining. Open it opens the file, and Restore asks you if you want to keep both copies.
I opened the file, but since it is empty there is not much to show here.
Probems
Sometimes file history does not recognize the drive. This is a little strange, because the drive worked fine before I unplugged it.
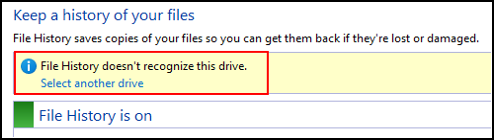
The good thing is that File history asks you to “Select another drive”. When you click that option you get a screen to select the drive of your choice.
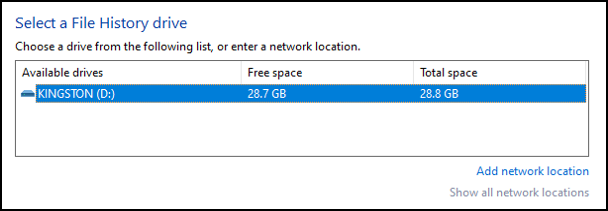
In my case, this is the same drive as before. I select it by clicking it, and the background turns blue.
Next click OK at the very bottom of the screen.
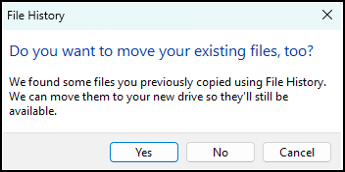
You can get a question if you want to move files. That is of course up to you.
And sometimes I have to close all apps and start all over again. This is of course not the default behavior, it normally works just fine.
When you are setting this up, do not forget to check if it works. Always test solutions that you have to rely on. Also check your extra hard disk, see what is on it. If nothing happens you maybe have to confirm your extra hard drive.
Do not forget to check the previous version tab when you are using File history. Make sure your safety copies show up in there. And do not forget to take normal backups of your folders and files.
File history is not the same as Restore points. Restore points takes snapshots of system files, Library files are not included in it. You can find my post on Restore points here.
This brings us to the end of my post on using File history.
Thank you for taking the time to read my post on using File history.
I hope you found it enjoyable and insightful.
Stay tuned for more content that is coming soon.
If you like what you read, please consider sharing it with others who might find it helpful.
Disclaimer
All tips and methods mentioned in this blog are tested on Windows 11. Please note that results may vary on other operating systems or versions of Windows. Adapt the instructions accordingly.
Copyright
© 2024 Henny Staas/safecomputer.org. Unauthorized use and/or duplication of this material without express and written permission from this site’s author and/or owner is strictly prohibited. Excerpts and links may be used, provided that full and clear credit is given to Henny Staas/safecomputer.org with appropriate and specific direction to the original content.