Activate File history
In my previous post I explained file history. You can find this post here. I explained what I like about it, and what I do not like about it.
In this post I will show you how to activate File history.
You have to connect an external hard drive to your computer.
So, attach your external drive, and go to Control panel.
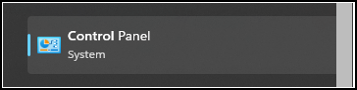
Go to the search bar and type “control panel”.
![]()
When the results appear, select Control Panel System.
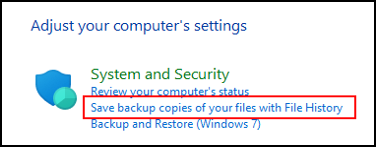
When Control Panel opens, there are two view options.
Is your view set to “Category”? Select “Save backup copies of your files with File History”.
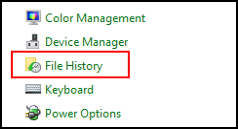
Is your view set to Large or Small icons? Select “File History”.
The File History menu opens.
The message is: File History is Off.
In the right bottom corner is an option: Turn on.
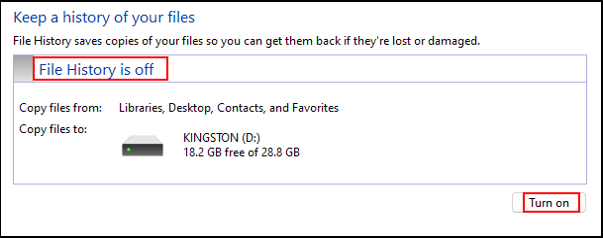
When you select “Turn on” the color changes to green.
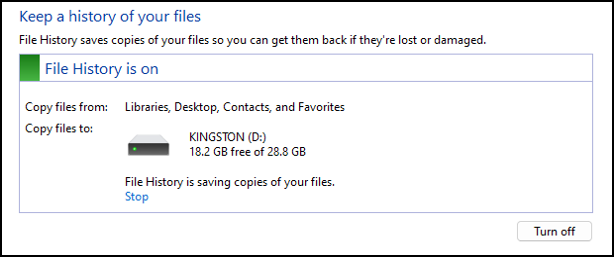
This is it. The backup process starts immediately.
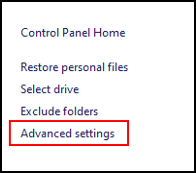
Advanced settings
In the left pane, select Advance settings.
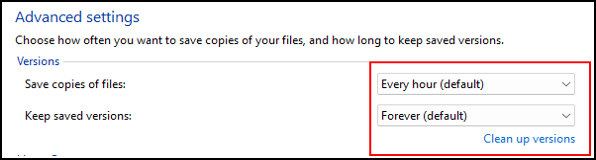
In this menu we set how often we save copies (default is every hour) and how long we keep copies (default is forever).
When I am working on documents, I have only one library folder with files in it. That is the folder I am working in. All the other library folders are empty. There are also a few documents in that one library folder.
This means that there is little information to copy, so I set “Save copies of files” (the time interval between copies) to 10 minutes.
For “Keep saved versions” (how long to keep copies), well, “Forever” is a bit long, but I never change this setting. For long term storage I backup my files to other media. If you really want to keep files for more than 10 years you need a different solution.
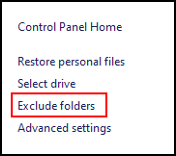
Exclude folders
If you do not want to backup certain folders, you can select those here.
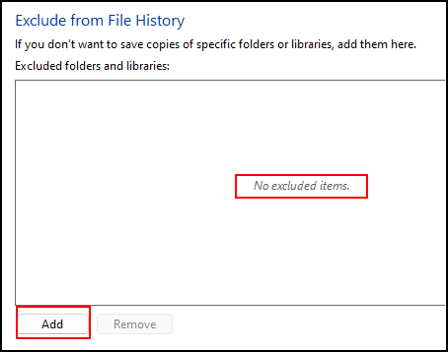
Select Exclude folders in the left pane.
The default situation is: no excluded items.
Let us say we want to exclude the Pictures folder.
Select “Add” in the left bottom corner.
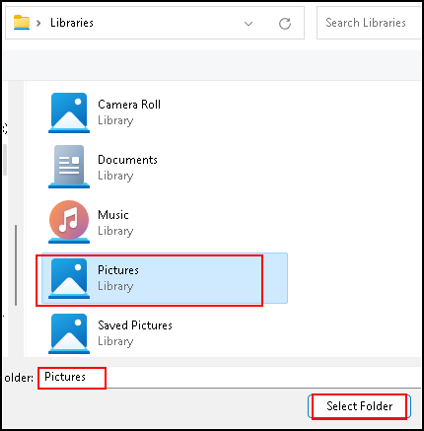
As you see, the selected folder in the top is Libraries.
Below that are all the library folders listed, I selected the Pictures folder. Next I click Select folder.
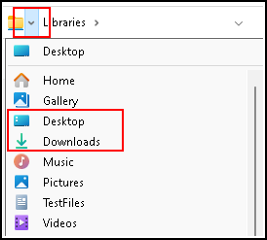
If you select the little arrow next to Libraries, you get a dropdown where you can select Desktop and Downloads if you want to exclude these from your backup.
Back to our selection of the Pictures folder.
When we selected the Pictures folder, we clicked “Select folder”.
This places the Pictures folder in the list of excluded folders.

When you select the Pictures folder you have an option to Remove this folder from the list.
Conclusion
If you want to make frequent backups of items you are working on, this is a great solution. You can simply activate file history when needed, and deactivate it when you are done. The time interval of 10 minutes is also perfect. That is, if you keep the number of folders and files to a backup to a minimum.
You have to remember to save the documents you are working on. If you do not save it, the file is not changed. This means no changes are written to the File history folder.
This brings us to the end of my post on activate File history.
Thank you for taking the time to read my post on activate File history.
I hope you found it enjoyable and insightful.
Stay tuned for more content that is coming soon.
If you like what you read, please consider sharing it with others who might find it helpful.
Disclaimer
All tips and methods mentioned in this blog are tested on Windows 11. Please note that results may vary on other operating systems or versions of Windows. Adapt the instructions accordingly.
Copyright
© 2024 Henny Staas/safecomputer.org. Unauthorized use and/or duplication of this material without express and written permission from this site’s author and/or owner is strictly prohibited. Excerpts and links may be used, provided that full and clear credit is given to Henny Staas/safecomputer.org with appropriate and specific direction to the original content.